OK so that is the parts that are required. Now on to the install. I tried taking pics of just about everything I did, but I didn't break this down Barney style completely. This article requires that you atleast understand little things like how to take off your calipers, rotors, etc. OK here we go with the install:
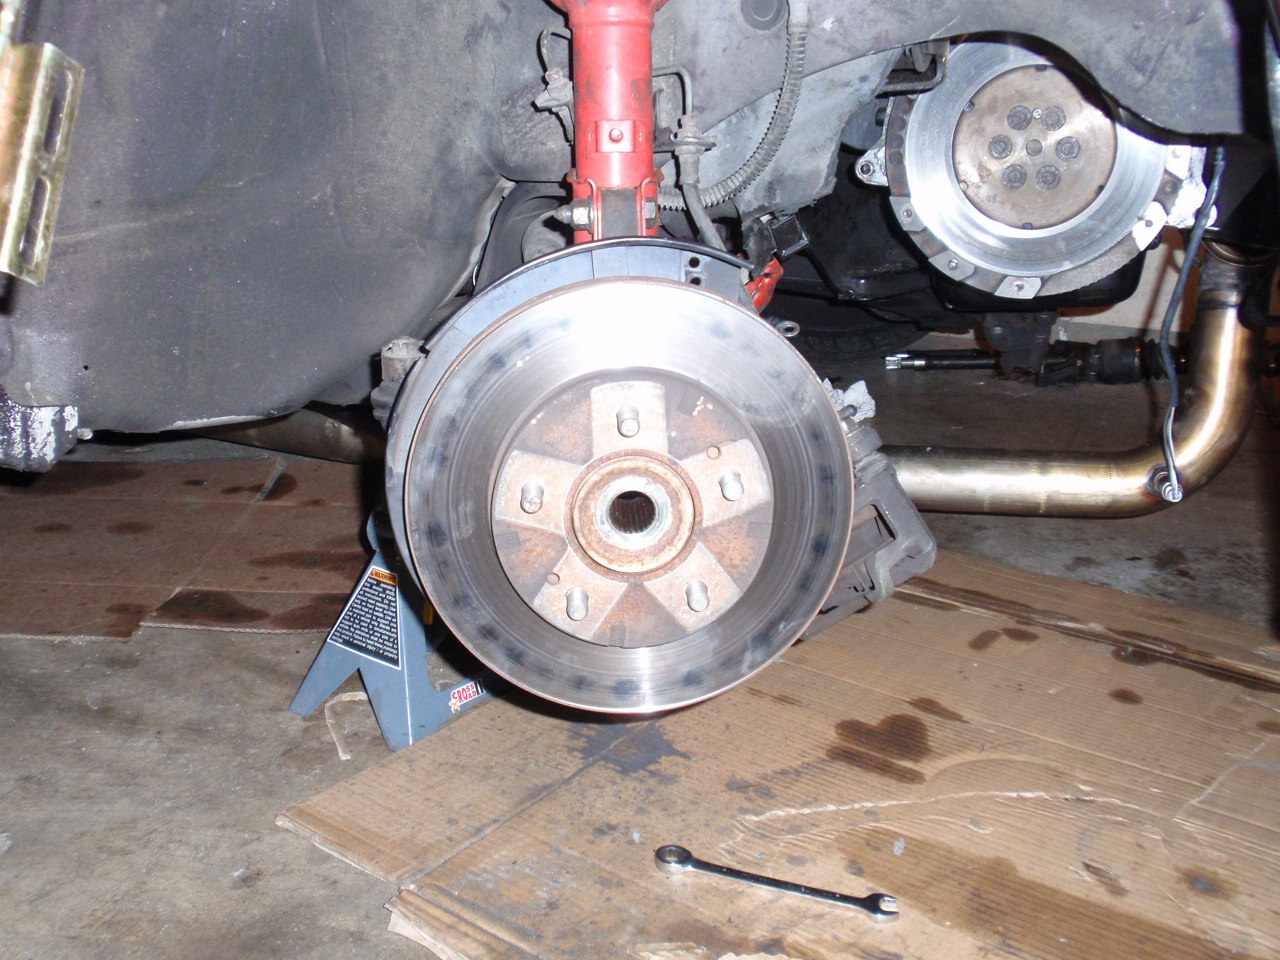
1) Remove the wheel and remove your stock caliper. It should look something like this now (you can see my rotor was in rough shape after a couple trips to the track trying to stop from 135+):
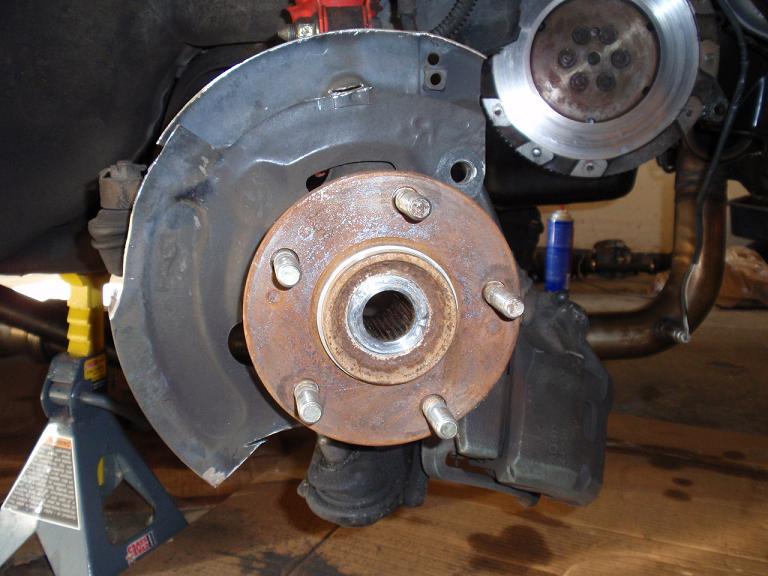
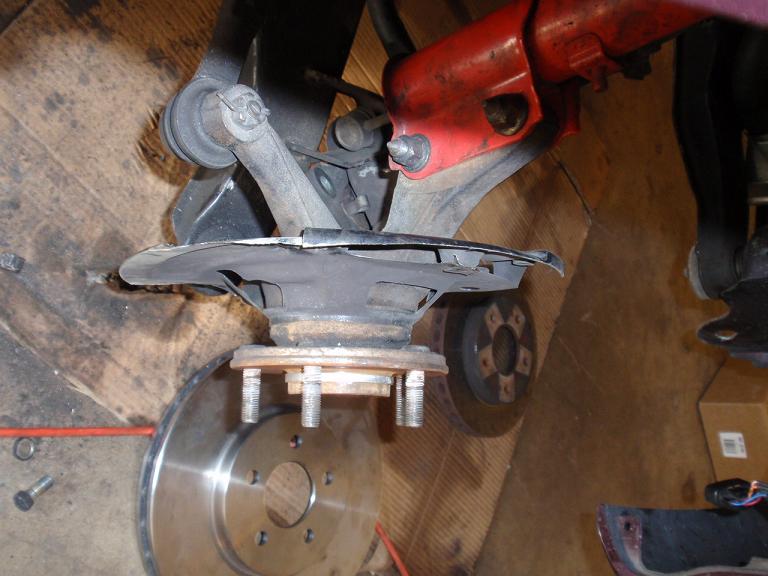
2) Remove the stock rotor. Mock up the Cobra rotor and mounting bracket and you will see that you will need to trim your dust shield to allow the new rotor and bracket to fit. Here is my initial trimming:
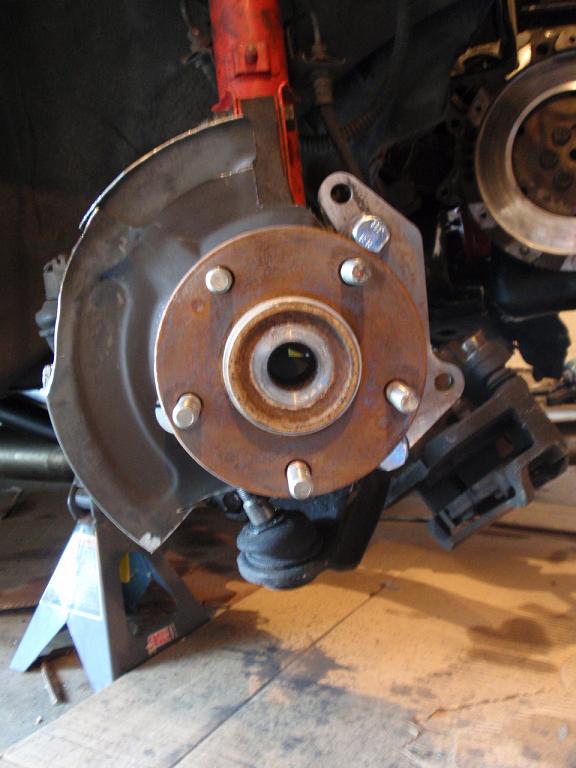
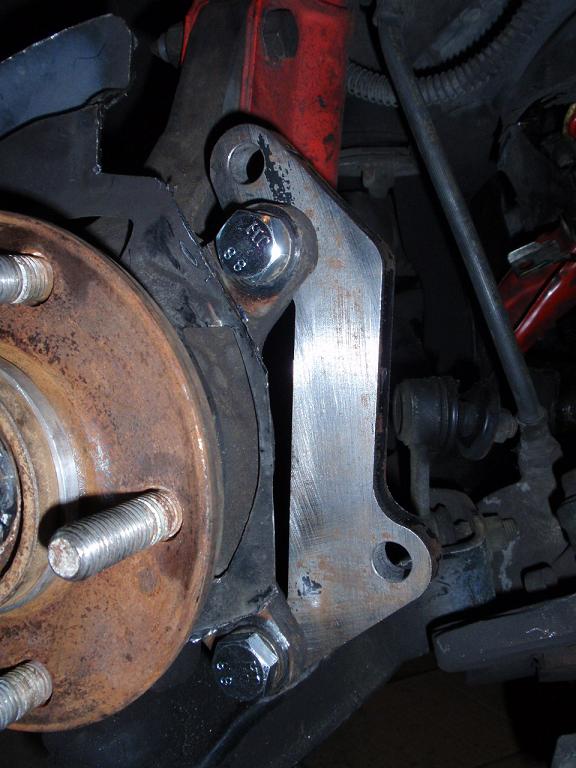
3) Install the mounting bracket using two of the M12 x 1.75 x 30mm bolts and lock washers. You'll see I trimmed slightly more off to ensure I have plenty of access to the holes on the bracket.
(I'm not a mech engineer, but I felt 30mm was a good length when using a lockwasher, as it barely protrudes out the back of the bracket, feel free to use whatever length you want).
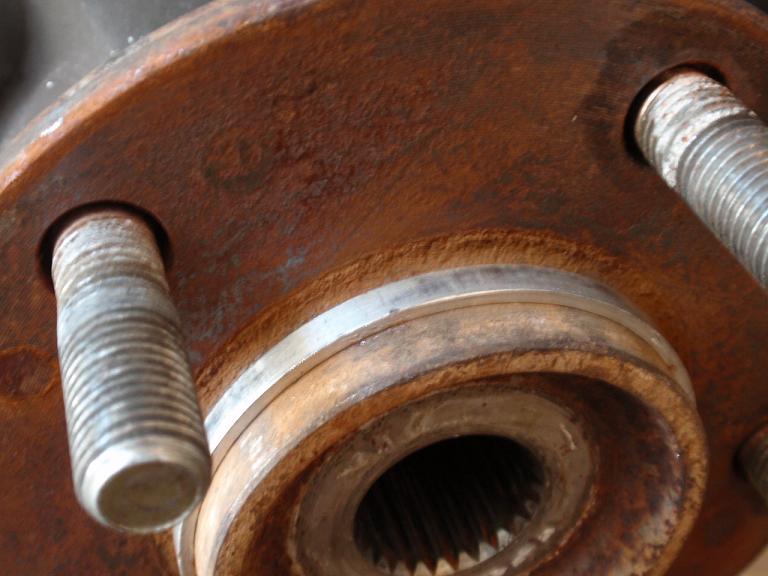
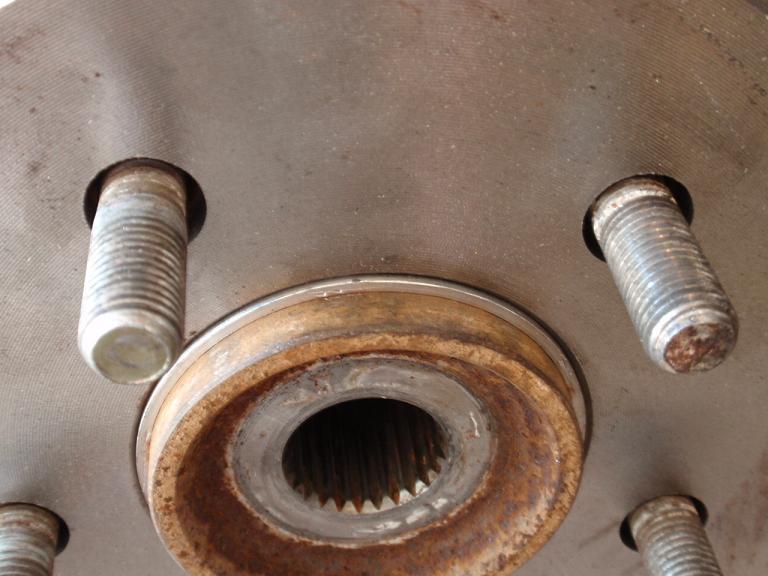
4) Install the hub centering ring. I used a wire brush to get a lot of the build up and rusty crap off to help make installing the ring a little easier.
5) Put the rotor on to make sure it fits nicely over the ring, and that it clears your dust shield that you've trimmed:
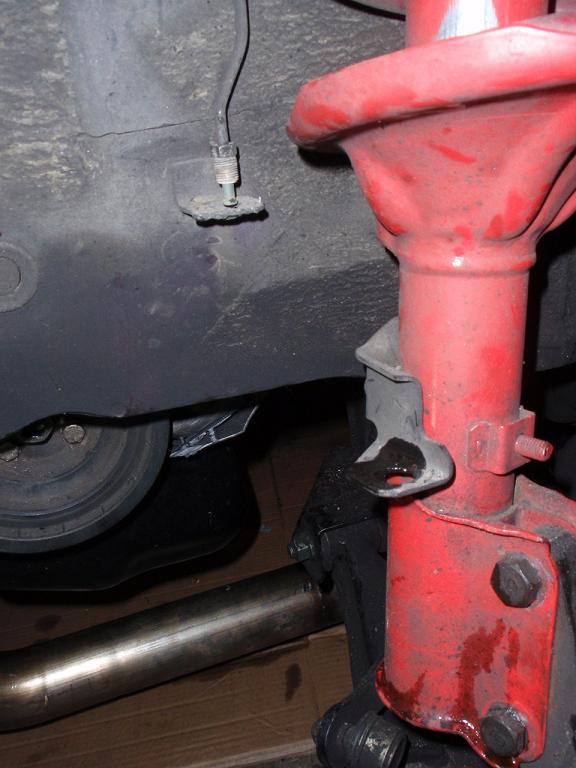
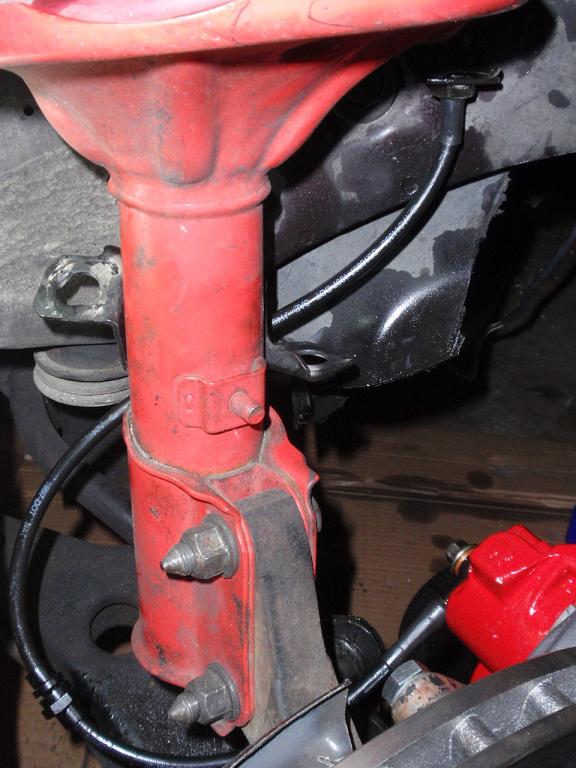
6) Install the Cobra caliper using the two M12 x 1.75 x 40mm bolts, lockwashers, and spacers included in the hub centering kit. Ensure you use the correct caliper for the side your installing. Easy way to tell is to ensure that the bleeder is on the bottom.

7) The spacers I got worked pretty well. The bottoms were perfect, but I wanted to ensure the caliper was perfectly centered on the rotor. I ended up sanding off 1/32 off the top spacers to get them centered perfectly. I would recommend you check the centering of the calipers because each car may be a hair different, so shimming should be expected to make it a perfect fit on your specific car.
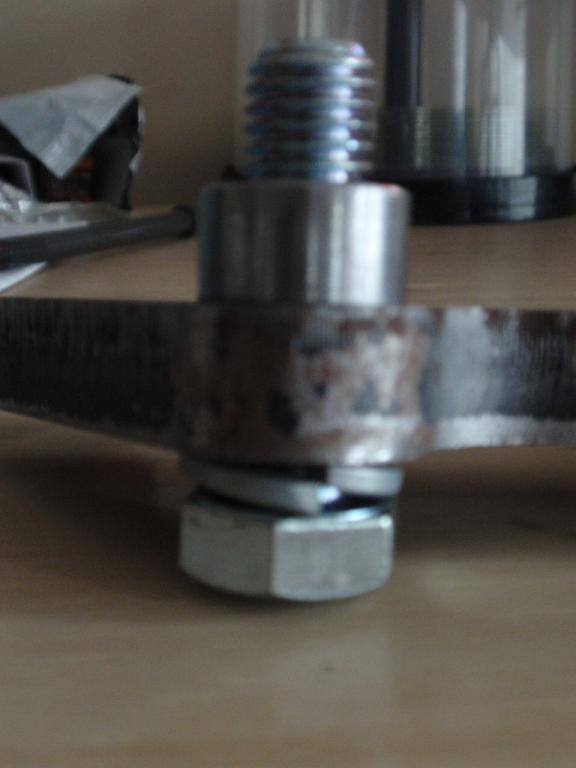
FYI, this pic shows a 40mm bolt with a lockwasher installed. If you feel you need more threads to feel safe, then by all means use whatever length you want.
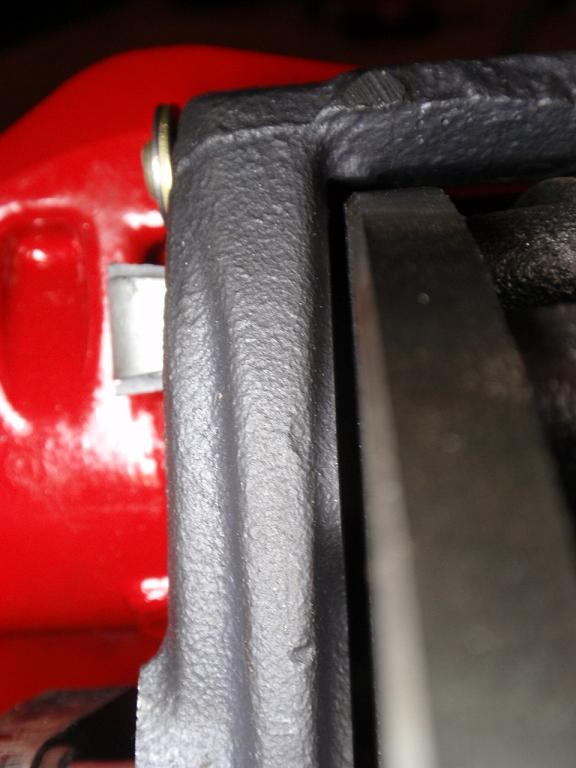
gap on the inside part of the caliper
gap on the outside part of the caliper
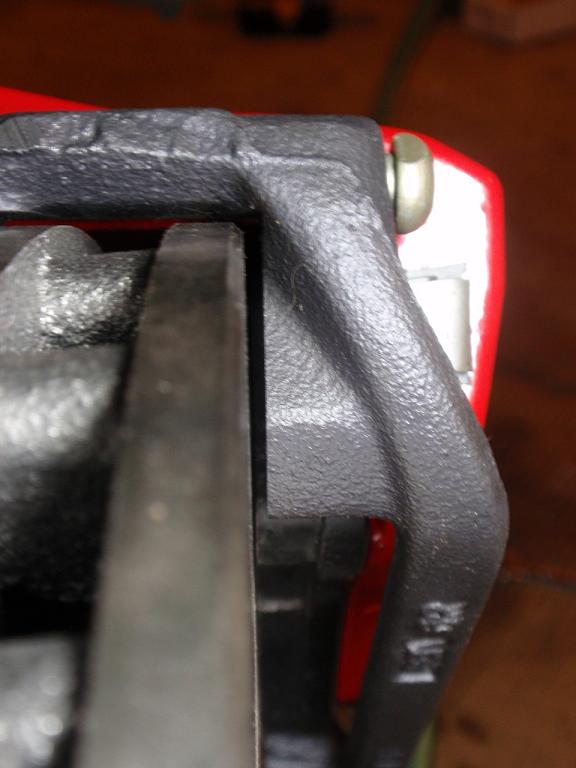
You can see how tight of a fit it is, hence the reason I recommend spending extra time on this to make sure it fits as perfect as possible as the spacers may not be perfect.
8) Remove the stock brake lines. I left the stock bracket there so that I could clamp (aka ziptie

) the new line to it.
9) Install the new lines. Again, I ordered SS Braided front lines for a 2G (they came with a black protective coating on them). Here are the 2G lines installed. Sorry I didn't get a picture but I also ziptied the line to the stock bracket as the little clamp they have in the middle of the line doesn't really work.
10) Put your wheel back on and admire the pure awesomeness of Ford junk on your beloved domestic DSM.
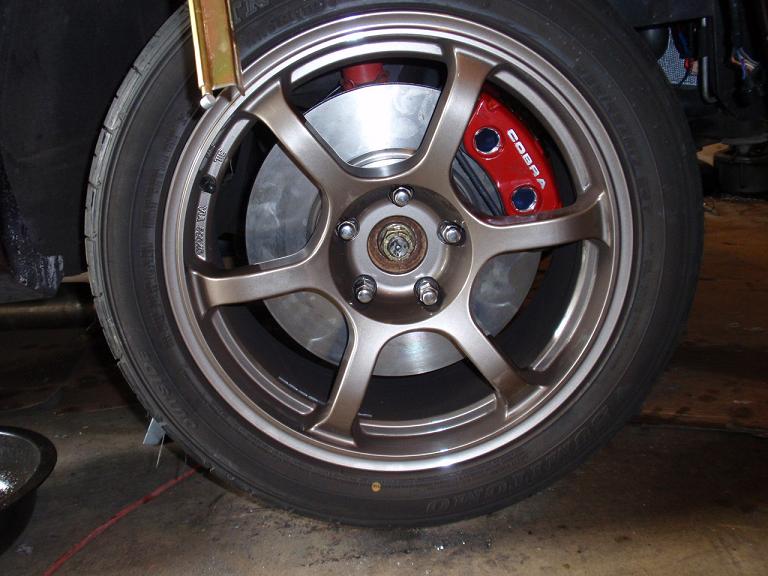
11) Repeat the same on the other side.
12) Bleed the brakes. Then bed them in using whatever method you want.
That's it. 563.18 is the exact amount I paid for all my parts after tax.shipping. Compared to over 900 for a new Baer kit after tax and shipping. I haven't gotten to really use the brakes yet, but will report back with how I feel they are performing once I'm able to use them on the street and at the track.
Hopefully this is helpful to anyone else out there looking to do the same upgrade.
Enjoy!!